A happy art-cident

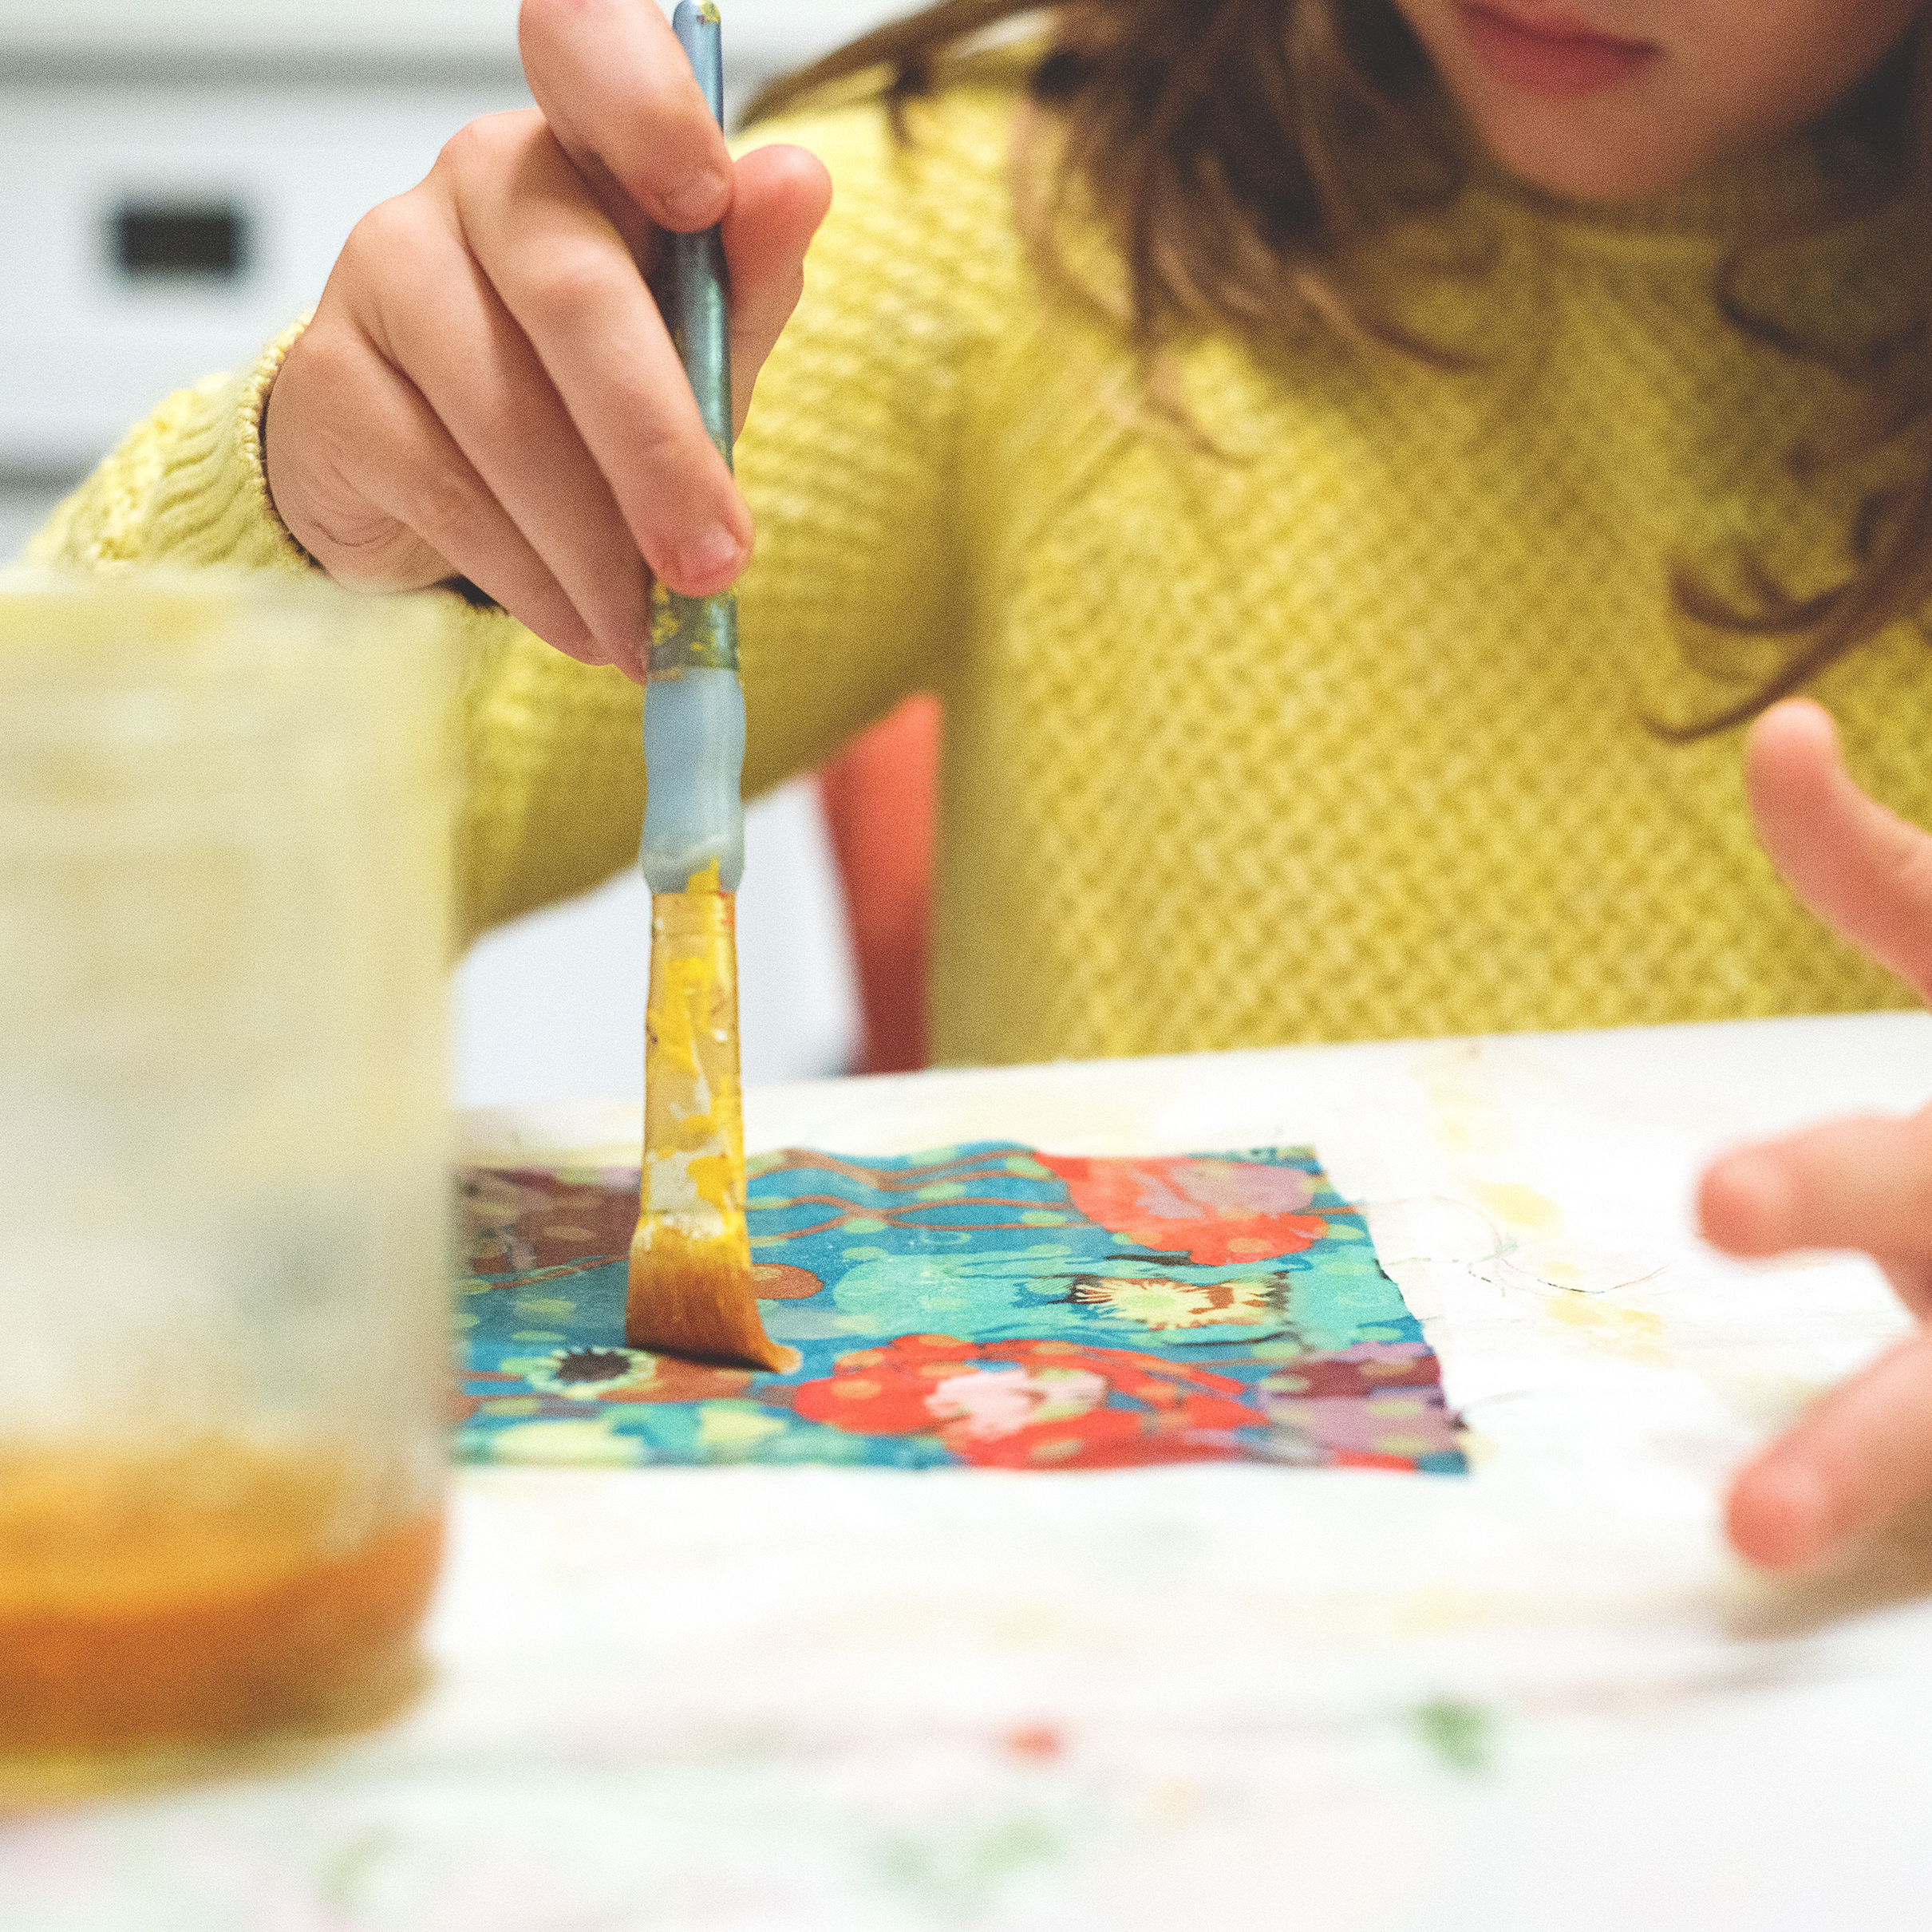
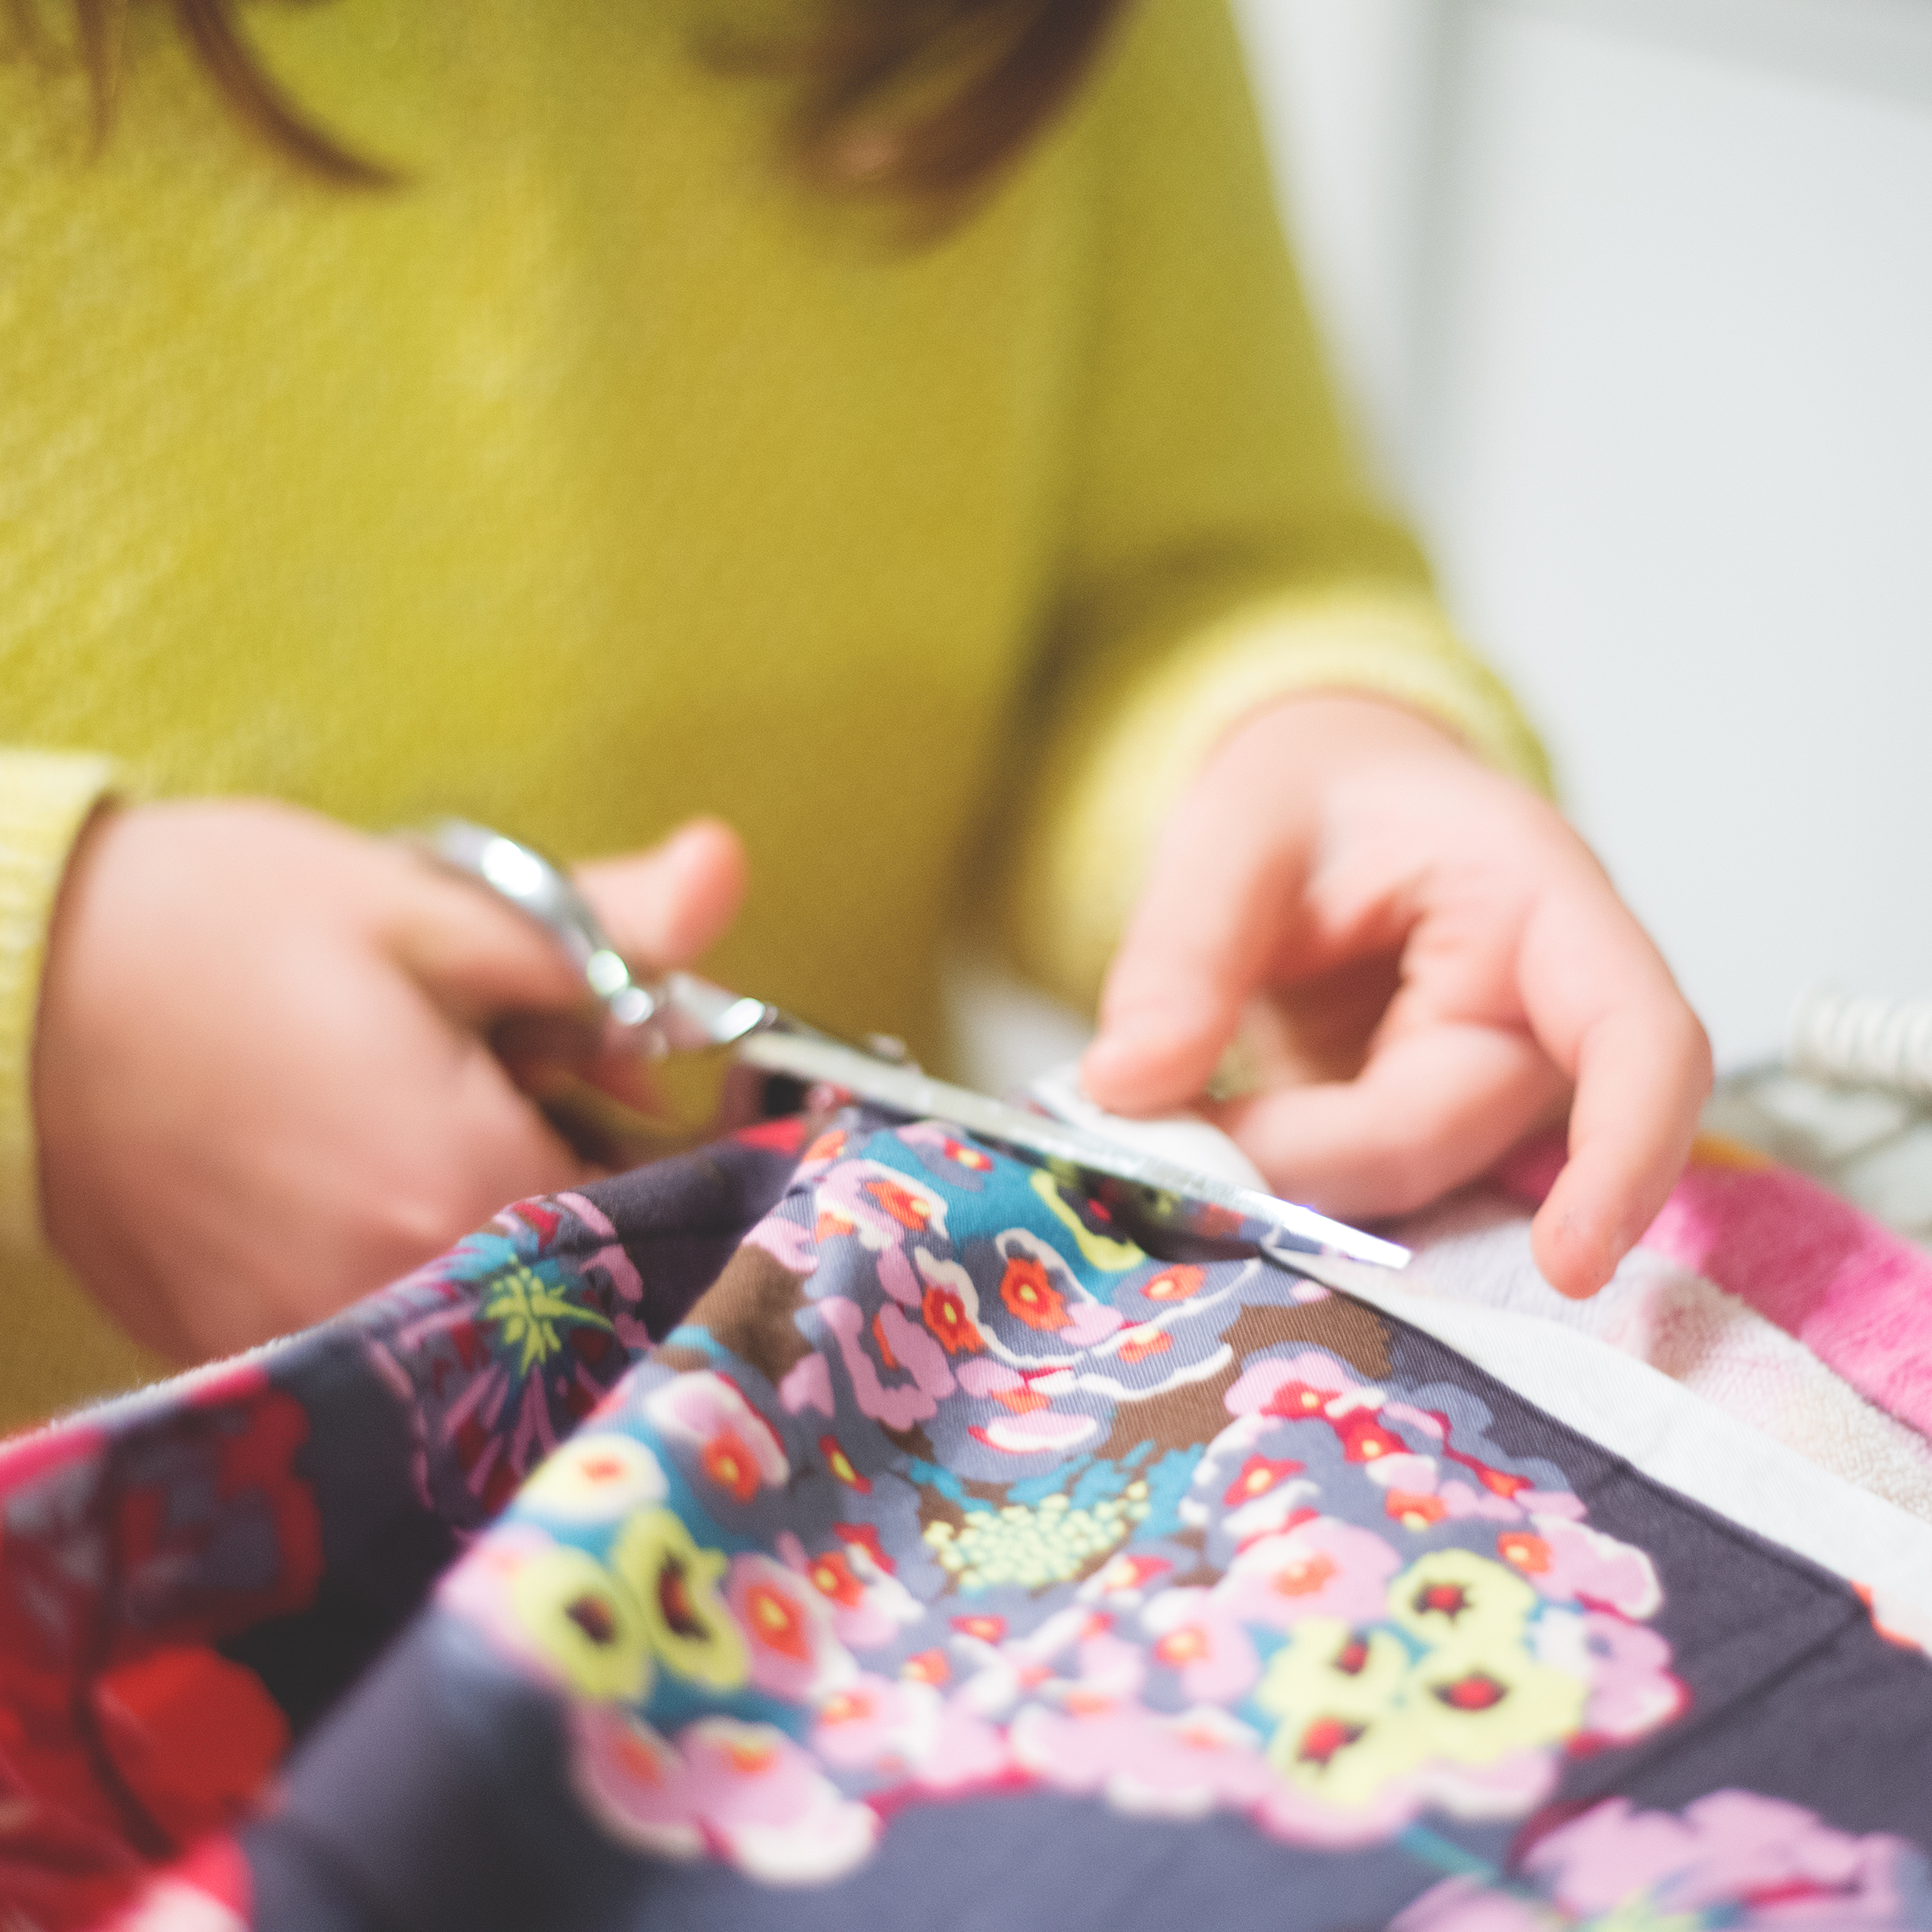
So I have the most amazing neighborhood & neighbors. Like, if you knew me in real life you’d be constantly bombarded with my icky gooey gooey professions of love and all the amazing things we do. My summer contribution was art class. We got together on tuesdays afternoons, shared a picnic lunch while learning something and then put it into action for the next few hours.

It was fun. A lot of fun. And at the end we had a neighborhood art show. I had grand plans for how it was all going to look in my head, but then it rained for 3 days straight and well…it turned out just perfectly nonetheless. Ever the overachiever, I had planned to do quirky cute about the artists bits. I never did get around to writing the bios or having the individual pictures printed but i did get the photos. And one just BEGGED to be edited immediately.

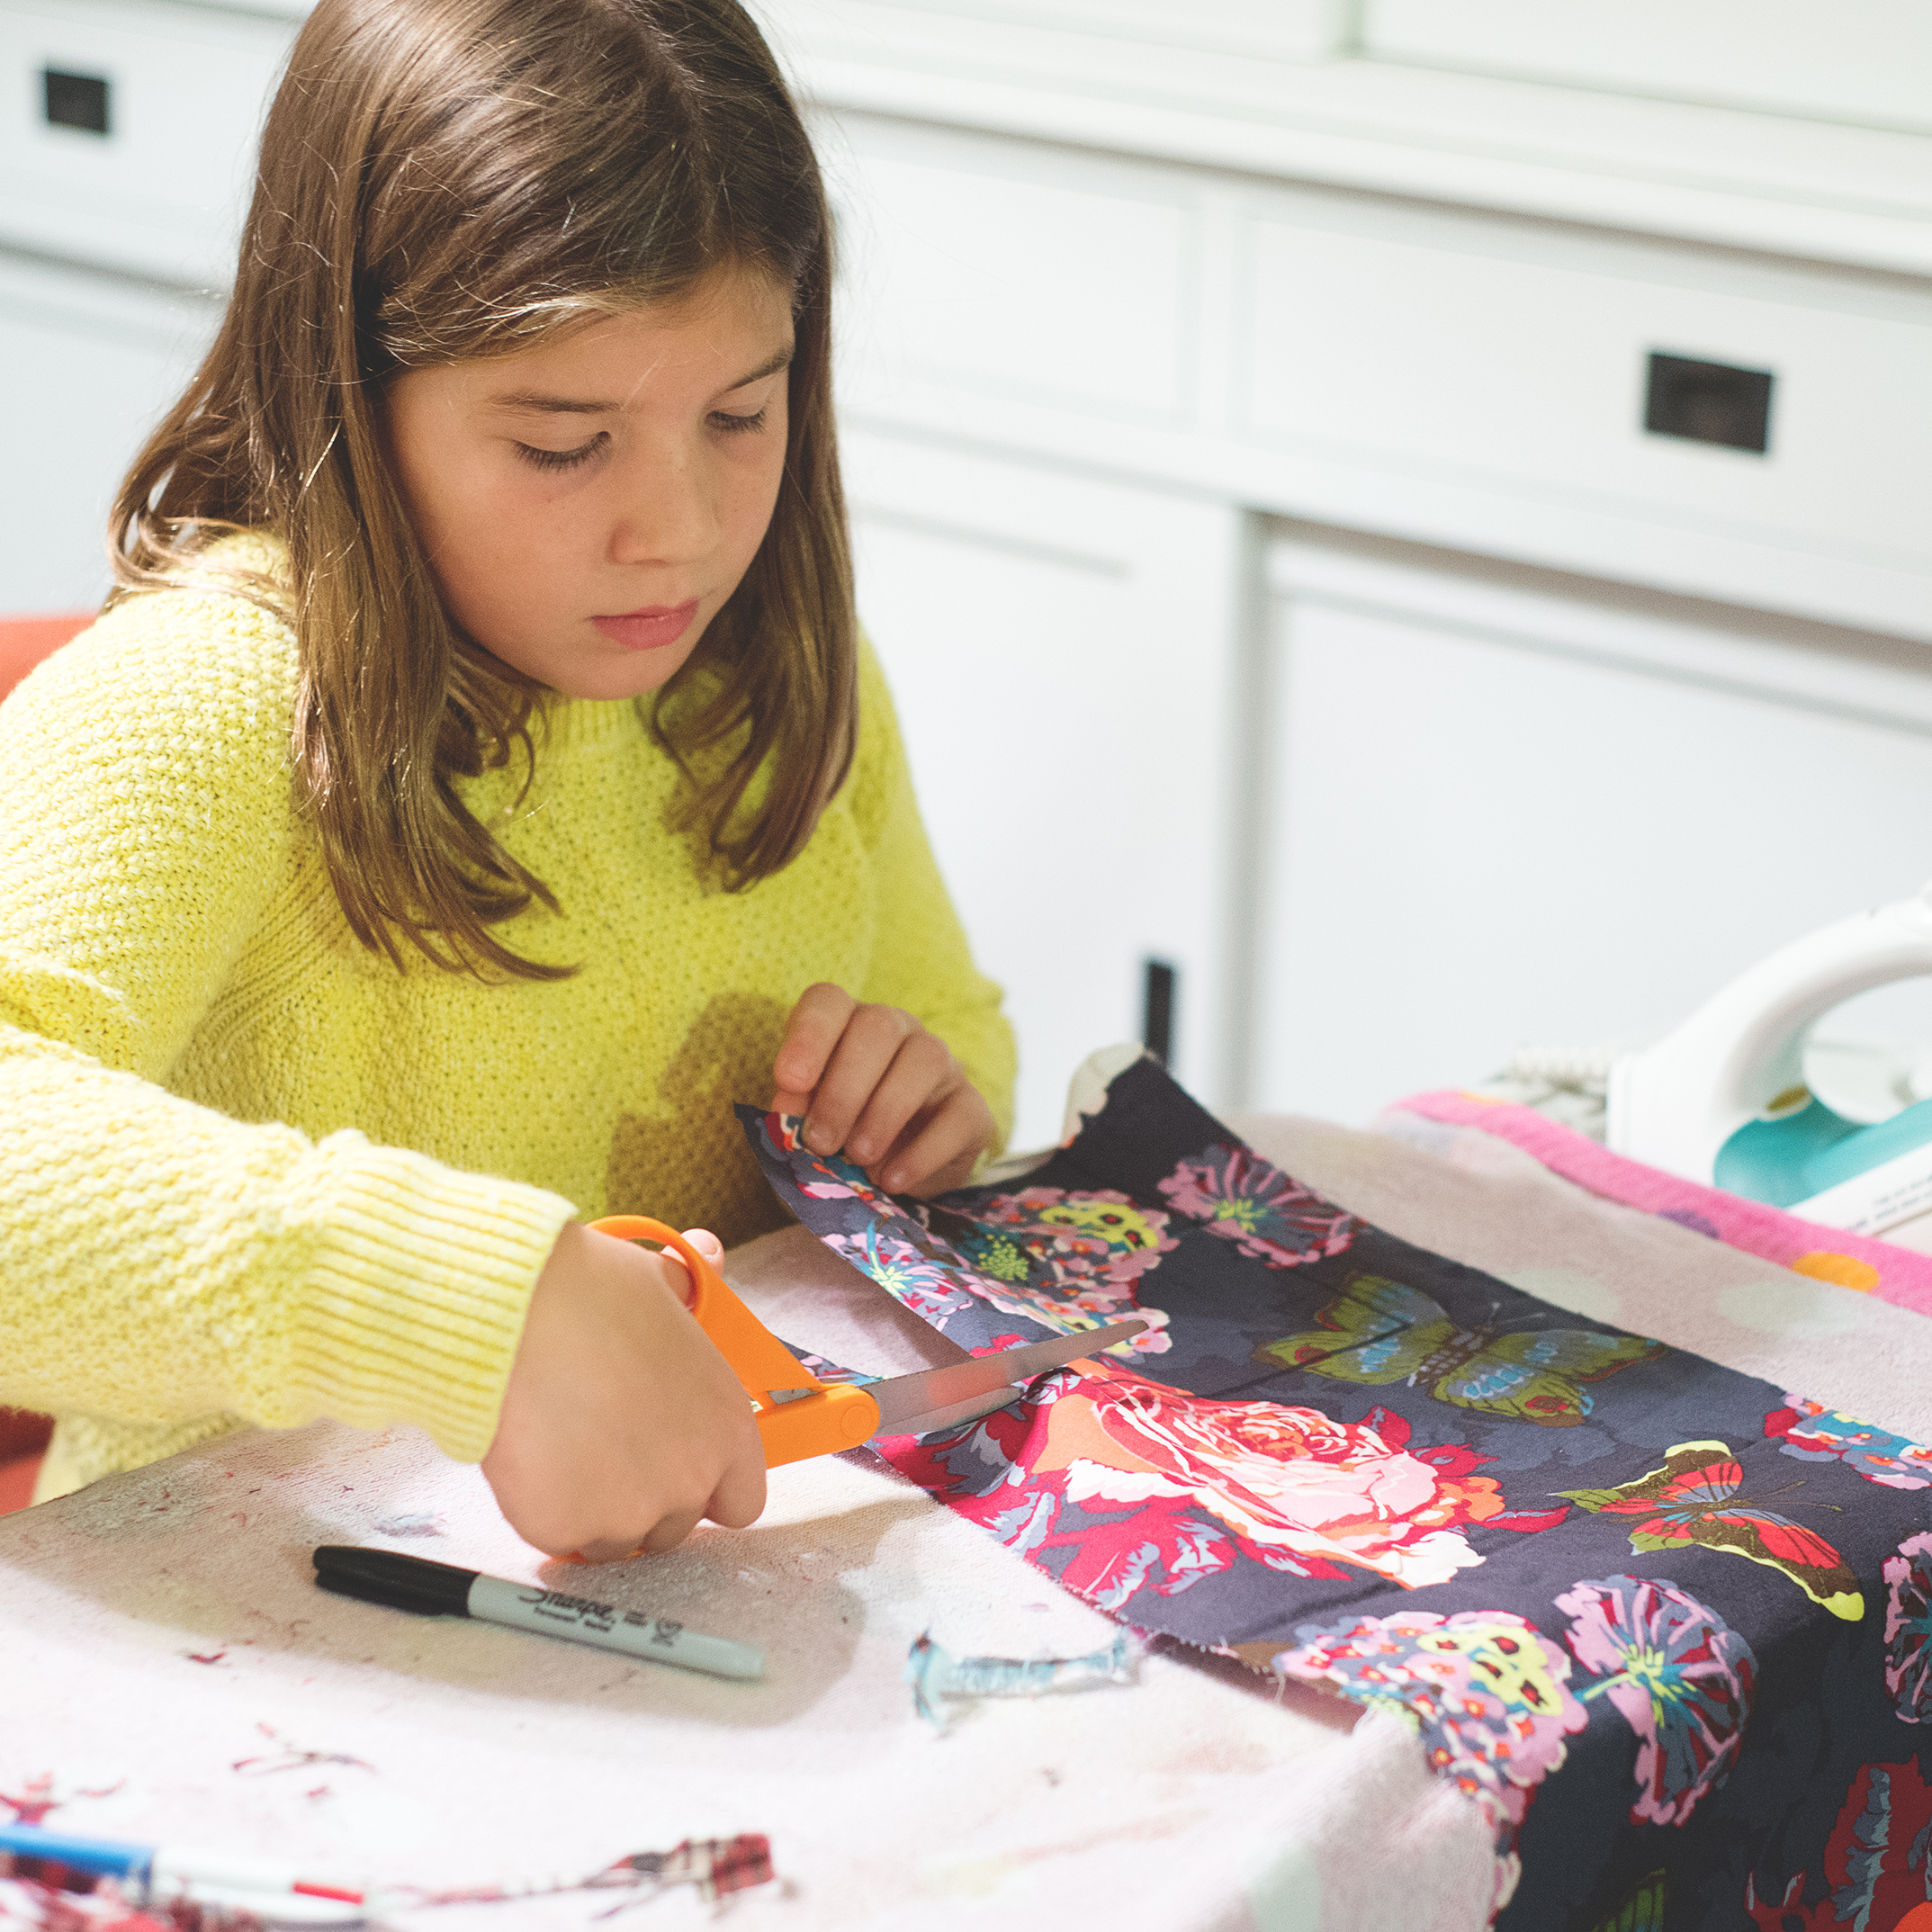
And so I popped it off to her Mum in a text and was like HOW CUTE IS THIS KID. And she pretty much responded — We need this. All kids. Now.

And while it took a few more weeks to coordinate everything (including myself & my happiness with the photos), we ended up with a set that I am absolutely over the moon about.

Fresh, Fun and ALIVE!!!

I always am considerate of parents wanting nice, friendly happy smiling photos but they never really spark joy for me. I’d so much prefer a family interacting with each other, or laughing ridiculously, or even that one kid looking off into the distance. I find it really fun that we combined a studio look in the comfort of our back yard and got such strong personality portraits. As a Mama, I want something that in 5, 10 20 years you look back and feel the energy of that person. Not just a nice photo.


What does hand-edited REALLY mean?

So 25 days after starting this blog post - i officially gave up. i mean reading is soooo 2006 right?!? And so I put on my big girl panties, shoved all personal insecurities aside and made my first vlog! Hellooo nerve wracking experience. However now that the first one is officially DONE ~ I’m so.damn.excited to share more! My goal is to really keep it a a vlog. I’m not going to worry about editing and making the videos awesome. Those marketing pieces will come soon enough. But till then — Please let me know what other topics you might be interested in.

In this video, Jenn of Enchanted Poppy explains what hand editing means to her and why it's an important part of the family portrait & newborn portrait experience. Does you photographer still use photoshop or just lightroom alone?

Having a shitty Day? #tween #tweenproblems

But lets be real...I may have asked the question on the web with my tween in mind, but I know i'll be utilizing this list as much as anyone.  After all - i'm not only human but i'm a tween mom too!  

So to set the stage, G was trying out for volleyball.  49 kids, 18 spots and an insane lil community of overachievers.  Combo in a mom who's like no i won't hire you a personal coach for 6th grade try-outs and you have a sad child.  I expected as much.  She's a great athlete, but the numbers just weren't in her favor.  

What i didn't foresee was the absolute heartache of every other child there having a friend to run back to.  Weather to celebrate or sniffle - everyone had a hand to hold.  A friend to tell them it would be ok.  My girl - on day 4 in a new school - just went to the locker room alone to sob.  upon hearing this, I was broken.  

My (not so) lil one has a soul as deep and sensitive as the ocean and while I typically live under a 'suck it up buttercup' mantra.  I can recognize that sometimes, it may not be the best approach to sensitive parenting.   And so... I did what any mom in her 30's would do.  I took the internet and asked my other hippy mama friends what can i do?!?!  And this lovely list was born.  

Dr. Lisa a close friend and accomplished family chiropractor told me "Dance Party!!! Seriously though, any kinda exercise/physical movement (especially fast or hard movement) resets hormones, turns off the crappy ones, and reboots the parasympathetic Nervous system which is what you want! That’s why “eating” helps people feel better because digesting food turns on the PNS as well, but for shorter periods and as you know, creates not so great food habits."  

Another Mama reminded me these are her battles to process.  "Hug them and let them process on their own. They need to be present to their experiences and feelings."  

There was even a recommendation for the Wheel of Awareness meditation - which while it seems a bit advanced for my girl, it reminded me of our ever favorite sparkle stories.

And then there were a whole list of fun ideas that resonated with me.  

And so, with that - i leave you our list.  But mostly, i post so i can actually find it when i need it.  Cause you know... #momlife 

Girls Bathroom Decoration Renovation #beforeandafter

I always say everything happens for a reason.  And if you can just get out of your own head for a moment... step back, wait & listen, 9 times out of 10 there's a lesson to be learned.  So while I wait (rather impatiently) I'm finding the time to focus on the little bits that i've often overlooked in our home.  (i.e. my bedroom, the bathrooms, etc.)  So instead of whining (a lot) I'm trying to focus on other bits around the house and jump back into the many things that I've left by the wayside.  

As such, I was doing #yogafix30 (again) and Lesley read this quote that just shook me.  I have a tweenager who just started middle school and this quote -- THIS QUOTE just sounded like something i wanted her to see,  to hear and FEEL every day.  And though silly...what better place than in the wash room, right in your face every day while you brush your teeth?!?  And so with a lil help from photoshop, I made them this canvas.  I can't wait to see it up with the fun "peaches" shower curtain and our vintage 50's peach tile.   


And for fun - here's the before.  I'll be back to post the after photos as soon as I get it picture perfect!  

Beeswax Wraps: Tips & Tricks when Crafting with Kids

So if you're even a little bit of a foodie, into holistic living or just plain cool with doing things the way our great grandmothers used to - i'm sure you've seen these wraps everywhere!  I think i first came upon Bee's Wraps in my favorite grocery store and have been obsessed with them ever since.  I mean, they replace a good bit of plastic wrap, and are made from an often wasted byproduct of one of the most fascinating pollinators on earth ~ YES PLEASE!

And so - like everything - I craved making these my own.

After way too much internet-ing i settled on Well Folk Revival's recipe.   I liked that it seemed to have all the ingredients of those commonly available and after all that reading I learned that resign is an important ingredient vs those made with just wax.  It's the secret that gives your wrap more 'give' vs a cracky-beeswax finish.  

What follows are a few of my tips & tricks as you craft with kids & my general thoughts and rambles as you go.  

Prewash your fabric: Thankfully I have a bin of leftover & pre washed fabrics that I was happily able to up cycle for this project.  However if you're starting from new I would recommend starting with an organic cotton thats been washed a few times in as hot water as the color and fabric will stand.  

Iron: I know. I know.  The only time my iron gets used is when we craft.  Alas, my kids found they greatly preferred the ironed pieces.  I suspect it was easier to 'paint' the wax on a piece that was super flat vs even the finest of wrinkles.  

Sizes: This honestly was the hardest part for me.  WHAT SIZE?!? I chose 5x5 & 12 x12 squares because those were the template sizes i had on hand.  

5x5 -- perfect for lemon & avocado halves, leftover cups & lunch bowls of food

12x12 -- great for leftover dinner plates, medium casserole dishes, sandwiches and CHEESE (nom om nom, i love cheese)

If you go to Bee's Wraps site, they have totally different sizes.  It truly doesn't matter.  Just think about how you intend to use these and go with it.  

Gather Supplies:

  • pot (sauce or spaghetti works fine) - you'll use as a double broiler
  • ball jar or bowl.  I'd recommend picking something you will be ok with tossing when the project is over, or keeping in your project box as clean up is a beast.
  • old chopstick (or spoon / butter knife if you don't hoard random supplies like me.  It's for stirring the hot wax so it will get covered.
  • paintbrushes - same as above.  thankfully we have a few big ones that the kids never seem to paint with anyhow.  
  • table cover for crafting (this does not mean your easter tablecloth from grandma) 
  • parchment paper
  • hot pad or trivet 
  • iron & ironing board
  • old towel
  • fabric scissors (pinking shears are ideal, but not required) 
  • pencil
  • size template(s) - Use an old box or paper grocery bags to make a few for your kids if you don't have anything else.  We used a quilt square template and the top of a flower press :) 
  • a drink for you: never under estimate how hard it is for some of us not to continually jump in and take over when we see things that could be fixed.  so be it a warm cup of tea or a tequila sunrise, treat yourself and take a step back while your kiddos create and you supervise from a safe distance.  safety aside - this project has plenty of room for fixes that each step doesn't need to be perfect.  

Setting up your space: Bear in mind that I am setting up this space to #craftwithkids If i were doing this alone, I'd be a lot more free and there would be infinitely less layers and steps. 

Start with melting your wax.  This process takes awhile and can sit in hot water when ready.  Versus having anxious kiddos impatiently waiting for the next step.  

Cover your workspace (i.e. dining room table) with an old table cloth or play towels.  Then where each child will sit, I made parchment paper placemats - don't be stingy here - we'll be reusing them again later in the process.  Add trivet on the table for the hot jar of wax to rest on thats accessible for your worker bees. 

While you do this, have the kids use the templates and cut their pieces.  Don't forget to save some fabric for you to make some yourself too! 

The process in relatively simple and intuitive so i won't go into much detail. 

  1. cut fabric
  2. paint with wax: it's looking like a big ol #pinterestfail right about now, huh. No joke.  It's cool.  To be expected.  It's the next step that makes them what you were expecting. Promise.  
  3. iron between sheets of parchment: go ahead and use those placemats here
  4. remove wraps from parchment: don't forget - hot wax. 
  5. hang to dry: or gently hold the corners and spin in circles for a moment or two
  6. fix any problems
  7. clean up

Fixing Spots

  • Oozing wax under parchment: It would seem that you had a very generous painter on your hands.  I try to keep the kids to one solid brush stroke to cover.  That said, if you have a soupy mess...add another piece of fabric that hasn't been painted yet on top, and iron.  The unpainted piece will soak up lots of that leftover.  
  • Lightly waxed 'holes': inevitably you'll have a few spaces that seem like they don't have enough wax on them.  You'll be able to feel these weak areas after they're dry.  You can either repaint those spots, or better yet -  your parchment will have spots of excess wax on it.  Use these to spots to fill in and clean up your parchment a bit.  
  • Spaces look waxy & rough: this spot just didn't get enough iron action or has way to much wax for that spot.  
  • fraying edges: this happens with kid scissors.  you can clean up the edges later or use pinking shears to really give it a polished edge.  

Clean up

Oy. I sound like my father and it makes me cringe.  But seriously.  This is one of those projects where an ounce of prevention is worth a pound of cure.  Maybe 8 Lbs depending on how messy your kids are!  Thankfully I'm a crafter so i don't feel having extra towels and tablecloths is wasteful.  I keep the stuff in a bin and just use and abuse it without worry.  

Parchement gets tossed.  Towels and tablecloths get tossed in their bin.  Paintbrushes, jars, spoons, etc get put in a ziplock back with leftover supplies for another day or another friend. And we're really just left with some sticky hands & maybe a sticky iron.  Thankfully, it's nothing that some hot water (as warm as you're comfortable with) and an old rag can't fix.

Wash your hands with super warm water and then to dry really rub em on an old towel piece.  The towel bit really helps.  Hot water on same rag to wipe/rub the iron.  And potentially the pot you used to melt the wax in.  I don't know how it happened, but with an independent 10 year old who took to reheating the wax herself...it did.  

I personally am not interested in laundering these items or trying to clean them in my sink as it seems like a hassle that just might never end and could cause clogs.  So to the garbage they will go.  

Admire.  Take Photos.  Share.  

Thats it!  Please come back and tell us how your adventure went.  I'd love to hear and see your work.  #poppyprojects for me to find you on social media.  HAPPY CRAFTING! 


International Day of the midwife

So i'm not feeling very loquacious this morning (lack of coffee perhaps!) - but really this quote seems to say it all for me.  I am so very thankful to my midwives and all midwives out there that really put themselves out there.  Emotionally, financially and legally - so preserve something that is so right to humanity!  

click HERE for full resolution file

#funfridayfreebie #wejustwanttopee

Isn't this the plight of mothers everywhere?!?  I mean of COURSE we love our kids with every breath of our being, but sometimes...32 seconds to ourselves wouldn't exactly stink.

To download the full size file as a cover image for Facebook - click HERE 

(Please note that you do not need to sign up for dropbox - just close that box.  Once you see the image, back click to download the full resolution file.  And yes, this is a work around as I continue to learn more blogging cool stuffs)